Small Changes, Big Impact: Renter-Friendly Makeovers You Can Unroll Today
Welcome! Today we explore Peel-and-Stick Transformations for Apartment Living, celebrating quick upgrades that respect leases, budgets, and your time. From walls and floors to cabinets and appliances, discover smart materials, gentle installation techniques, and stylish ideas that lift everyday rooms without drills, dust, or stress. Expect practical checklists, honest anecdotes, and solutions for tricky corners, humidity, and move-out peace, plus ways to share your before-and-after results with our community.
Prep Makes Perfect
Great results start long before the backing peels. Understanding surface types, cleaning properly, and respecting climate considerations dramatically increase adhesion and reduce bubbles or lifting. We will walk through compatible paints and textures, degreasing best practices, safe temperature ranges, and curing windows. You will also learn how to measure efficiently, plan seam locations, and stage tools so every panel lands smoothly, straight, and confident, even when working solo in tight spaces.

Surface Check and Cleaning
Not every surface behaves the same. Eggshell, satin, and semi-gloss paints typically welcome pressure-sensitive adhesives, while flat, dusty, or chalky finishes may resist. Wipe walls with a mild degreaser, then rinse to remove residue that weakens grip. Let surfaces dry completely, ideally overnight. Avoid silicone-based cleaners and oil soaps. If texture is rough, lightly sand and dust. A small test patch will reveal whether adhesion is strong, removable, and predictable under your room’s normal humidity.

Tools and Setup
Gather a sharp craft knife, fresh blades, a felt squeegee, a level, painter’s tape, a soft cloth, and a hair dryer or heat gun on low. Clear floors, protect baseboards with tape, and pre-cut panels with two inches to spare. Mark plumb lines for accuracy rather than assuming corners are straight. Work with a partner when possible for tall drops. Keep a dry microfiber cloth nearby to wipe dust that sneaks in while you work.
Walls That Whisper and Wow
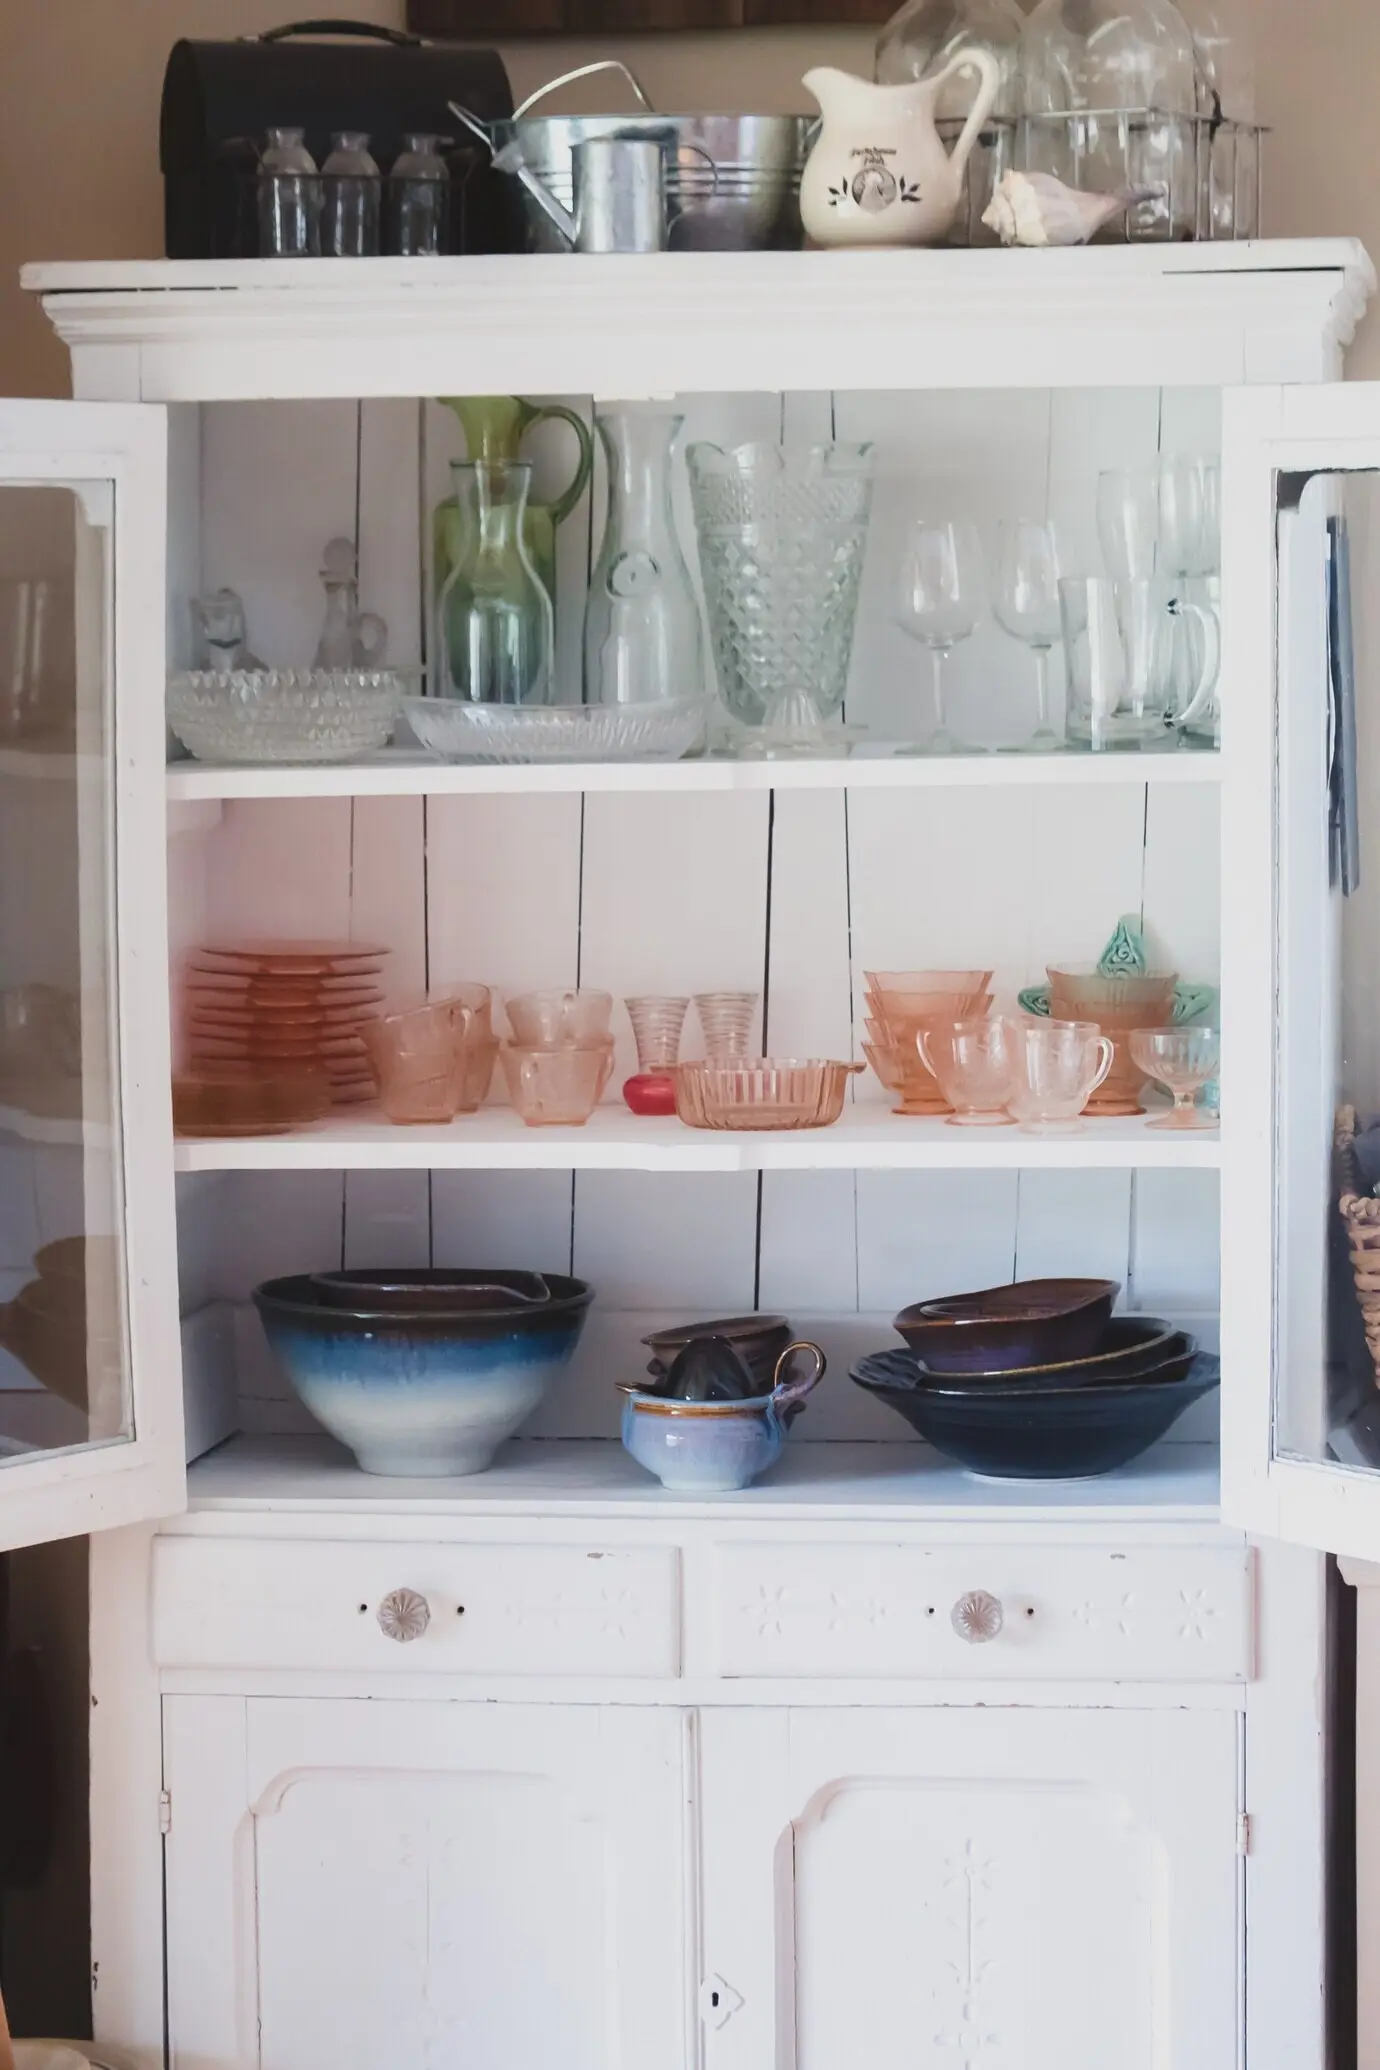
Removable wallpapers and decals can turn a plain rental into a gallery of mood and personality. Learn how to pick prints that flatter small rooms, align pattern repeats under normal lighting, and manage tricky outlets and corners. Explore accent walls, ceiling treatments, and subtle murals that frame furniture without overwhelming. We will also share a renter’s story about transforming a narrow hallway using soft stripes, adding brightness and a gentle sense of direction.
Choosing Patterns That Love Small Spaces
Scale is everything. Larger motifs can visually expand a room when the color contrast is calm, while tiny busy prints might crowd a narrow nook. Consider mid-scale botanicals, linen textures, or tone-on-tone geometrics that soften boundaries. Match print intensity to your daylight levels. If windows are limited, lean into lighter backgrounds. Try vertical elements to lift ceilings and horizontal lines to widen. Balance one bold wall with simpler adjacent surfaces to keep harmony.
Seams, Repeats, and Lighting
Test one full drop in daylight and evening light to see how sheen, texture, and micro-bubbles appear. Align repeats using the manufacturer’s overlap or butt-joint recommendations; a laser level helps tremendously. If patterns drift, split the difference across two less-visible seams rather than forcing perfection in one area. Check for backlighting issues near lamps that could reveal overlaps. Finally, photograph your work under warm and cool bulbs to ensure color reads as intended.
Kitchens and Baths, No Drills Needed
Steam, splashes, and daily wear need special attention. Discover backsplash tiles with realistic grout lines, durable vinyl for floors, and protective edge treatments around sinks. Learn heat clearances near stoves, when to add a light bead of removable caulk, and how to keep grout-look tiles aligned. We will explain cleaning routines that preserve sheen, combat mildew, and protect corners, so your kitchen and bath feel customized without risking deposits or permanent changes.
Backsplashes That Survive Steam
Look for products rated for kitchens, featuring thicker vinyl or rigid composite with heat tolerance and strong adhesive. Maintain several inches of clearance from direct flame or very hot appliances. At vulnerable edges, a tiny bead of removable, non-silicone caulk can block moisture. Degrease walls thoroughly before application, especially near ranges. Wipe down after cooking to prevent oil buildup that undermines adhesion over time. For renters, keep packaging and maintenance notes for smooth move-out conversations.

Removable Floor Tiles Underfoot
Peel-and-stick floor tiles can refresh dated linoleum or cover tired ceramic with a reversible layer. Check thickness and wear ratings, and ensure the subfloor is smooth, clean, and dry. Plan patterns from the center for balanced cuts at walls. Use a hand roller for even pressure. Avoid flooding floors with water; instead, damp-mop. In bathrooms, add bathmats to reduce pooled moisture at seams. If a tile lifts, warm it gently and re-seat with slow, firm pressure.

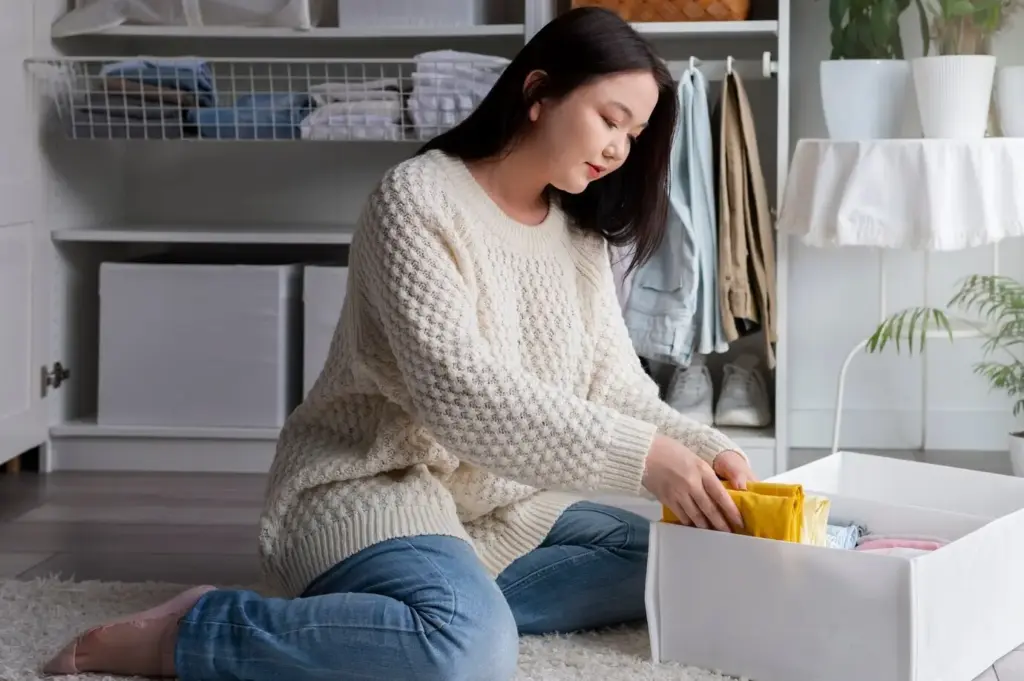
Furniture, Doors, and Appliances Reimagined
Vinyl wraps and contact films can update cabinets, closet doors, tabletops, and even refrigerators within an afternoon. Explore textures that mimic wood grain, stone, or brushed metal without weight or noise. Learn to wrap edges with heat for smooth corners, reinforce high-touch areas, and keep door swings clear. We will discuss rental rules, safe adhesives, and trial patches that ensure removability, so every makeover feels expressive, reversible, and delightfully surprising to visitors and you.
Color Temperature and Material Sheen

Warm bulbs can brown delicate beiges, while cool bulbs might flatten greens. Test swatches under morning and evening light to understand shifts. Matte surfaces hide imperfections but absorb light; satin finishes reflect softly and clean more easily. Pair high-sheen elements with matte textures for balance. If your floors lean orange, select cooler grays carefully to avoid clashing. Judicious contrast—think soft white next to walnut—creates clarity without noise, keeping spaces calm yet distinctly alive.
Scale, Proportion, and Visual Flow
Big patterns can make a small room feel expansive when color contrast remains gentle. Reserve high-contrast prints for accents or contained zones like backsplashes or closet interiors. Repeat one motif across three points—wall, pillow, tray—for cohesion. Maintain negative space around focal areas so the eye rests naturally. Frame furniture with subtle murals, or run vertical lines behind a tall bookshelf to emphasize height. Small intentional gestures accumulate, guiding visitors smoothly from entry to window views.
Try-Before-You-Apply
Order sample swatches and stick them in multiple spots—near windows, behind lamps, and at eye level. Live with them a few days. Photograph under different lighting to catch color shifts. If two favorites tie, create a mini vignette with decor pieces to see companions in context. Ask friends for reactions, then trust your gut. By testing first, you reduce waste, maximize confidence, and ensure every peel becomes a joyful, stress-free commit rather than a gamble.
Care, Removal, and Move-Out Peace
Cleaning That Protects Adhesion
Skip abrasive pads and harsh solvents that haze finishes or weaken edges. Use a mild, non-oily cleaner on a soft cloth, then dry thoroughly. Wipe splashes quickly, especially around cooktops and sinks where residues accumulate. If corners lift, warm gently and press back with firm, even strokes, checking that surrounding surfaces are clean. Add felt pads to furniture to reduce accidental scuffs. Simple habits ensure your designs look freshly applied months after installation.
The Gentle Art of Removal
Begin at a corner, warm slightly with a hair dryer, and pull back at a low angle, working slowly to protect paint. If resistance increases, add a bit more heat and pause. For stubborn glue, dab a residue-safe adhesive remover sparingly, then wipe clean. Avoid ripping fast or yanking outward, which can snap brittle paint layers. When finished, wash and dry the wall; you will be amazed how clean and ready the surface appears.
Repairing Surfaces Like Nothing Happened
Keep a small kit: lightweight spackle, putty knife, fine sandpaper, touch-up paint, and a microfiber cloth. Fill tiny divots, sand lightly when dry, and feather the edges. Color-match paint under the same lighting used daily. Roll or brush lightly to blend sheen. For hairline cracks revealed by removal, a whisper of spackle followed by patient sanding works wonders. Document before-and-after photos to reassure your landlord and celebrate how respectful, reversible design can truly be.
Where to Source Quality Materials
Explore reputable brands, local design shops, and artisan studios that print on durable, removable media. Read reviews that mention actual removal experiences and surface compatibility. Request samples, noting color accuracy and tactile feel. Ask about ink safety certifications and production timelines. Independent makers often offer custom scaling for patterns, helping you tailor prints to ceiling height. Keep a sourcing spreadsheet with prices, lead times, and return policies to avoid surprises and plan confidently.
Calculating True Project Costs
Beyond the price per roll or tile, factor tools, trim pieces, edge caulk, shipping, and the value of your time. Some pricier materials install faster and last longer, reducing replacement costs. Measure carefully and add ten percent for mistakes and cuts. If you are tackling multiple rooms, consolidate orders to save shipping. Track costs in a simple worksheet, then compare against the real impact—comfort, visual calm, and delight—so every dollar aligns with what matters.
Low-Waste Habits and Reuse Ideas
Keep offcuts for drawer liners, art mats, cable labels, or shelf accents. Donate larger remnants to community centers or classrooms for creative projects. Retain backing papers to protect pieces you plan to move. Choose recyclable cores and low-VOC products when possible. Swap pattern samples with neighbors to reduce new prints. Share your inventive reuses with us; we love featuring reader ingenuity that turns leftover bits into beautiful, functional details across the home.
Budget, Sourcing, and Sustainability
Responsible choices stretch your budget and reduce waste. Compare cost per square foot, include tools and extras, and factor time saved by smarter materials. Learn where to find sample books, how to work with independent makers, and what certifications signal low-VOC, family-safe inks. Embrace leftovers for organizers or art, swap unused rolls with neighbors, and donate samples to schools. Share your favorite sources and tips with us to inspire others starting their own refresh.
All Rights Reserved.